Dyeing to Get Some Colour / Recap
Last Saturday I attended the highly anticipated Dyeing to Get Some Colour class with Felicia Lo of Sweet Georgia Yarns. I had never dyed yarn before but learning was on my bucket list so when this class was announced by my favorite indie dyer I knew I had to enroll.
I wasn't really sure what to expect or more importantly what to bring with me so I ordered 3 bare skeins of Knit Picks yarn and 1 sock blank. In the end I didn't really need any of it, we were each given an undyed skein of Tough Love Sock that had been sectioned into 4 mini skeins, one for each of the methods we would be learning.
. . .
Immersion Dyeing
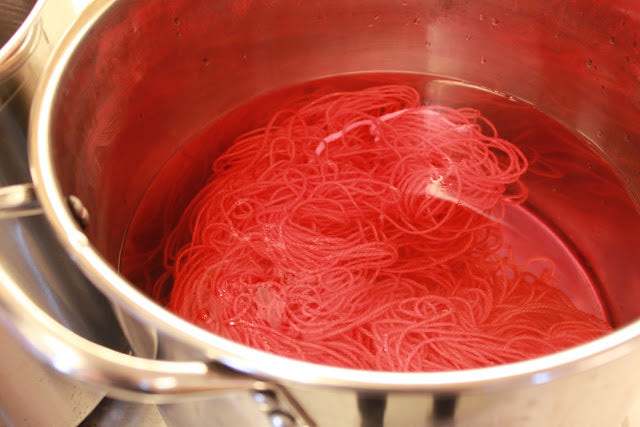
There were 8 of us in the class and enough equipment to split up into 3 groups. I convinced my team to use yellow as our base, aren't I sneaky? I'm glad I did because I have a new appreciation for all of those perfect shades of yellow yarn that I am always drawn to, yellow is tricky. We used pure yellow with what we thought was WAY too much pink and this is what we ended up with.
{ No trace of pink in this skein. }
Over Dyeing
We had immersed 2 of our mini skeins in the yellow dye. We left one to dry while the other went on to be over dyed. This time we chose to use pure magenta with a few drops of brown.

We were completely surprised by the result, a vibrant sort of coral orange type colourway. I think this was my favorite technique from the class, layering two colours.
Hand Painting
Then we moved on to hand painting. I chose not to hand paint a mini skein because I don't really have any use for variagated yarn. Instead Misocraftyknits and I used this technique to stripe our sock blanks.
It didn't really go as smoothly as I would have liked... Here I was thinking that I could sponge on some colour and make my own perfectly self stripping sock yarn, ha!
Lesson # 1:
Dye bleeds. No matter how careful you are with your application, you won't get tidy little lines stacked one after the other.
Lesson # 2:
Hand painting an entire sock blank with rainbow colours takes way more time than I was prepared to devote to it. I'm pretty certain that if I had known how long it was going to take me I would have a) chosen another plan of attack for my sock blank, or b) left my sock blank at home. It was sort of all consuming just to get it done in time before the class ended and it would have been nice to have been taking in what else was going on around me instead.
Kettle Dyeing (Hot Pour Method)
...Which brings me to technique number 4, the one that I completely missed because of my all consuming sock blank :)
. . .
All in all it was a really wonderful class and I learned a heck of a lot. Felicia is an excellent instructor and I really enjoyed her teaching style. She had made really lovely hand outs (I'm sort of sorry I made notes on mine, that's how pretty they are) and began the class with a short but thorough explanation of colour theory. Each technique was explained before we jumped in and Felicia was really good at hanging back and letting us learn through doing (which is the only way I learn).
I could have dyed all day!


